Oops, I did it again!
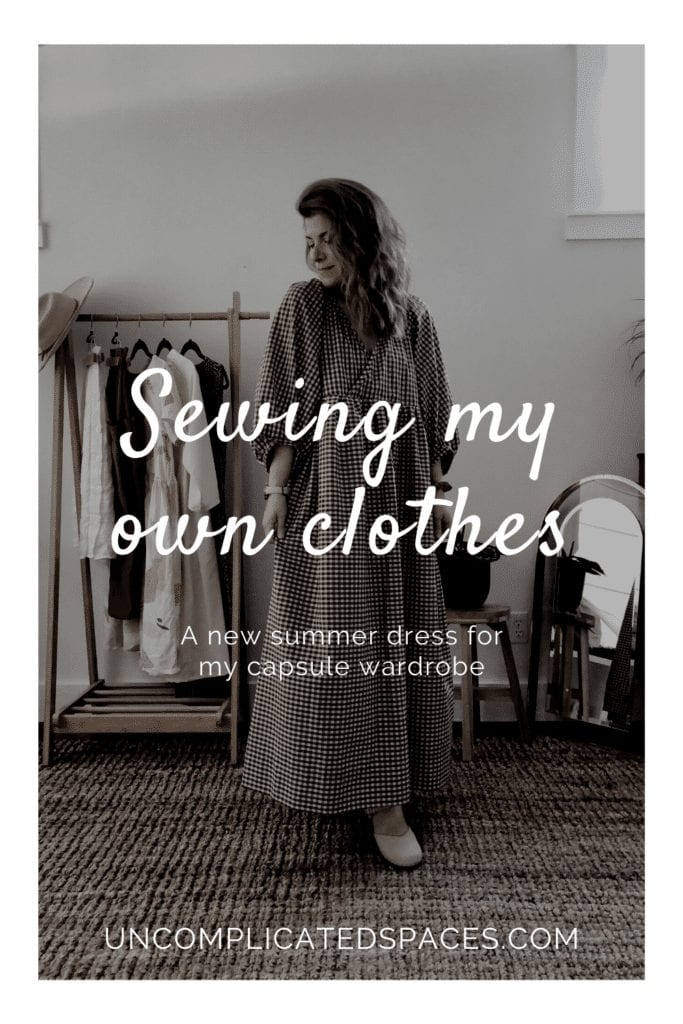
I made another dress for my capsule wardrobe.
It’s been about 2 months since I made my first ever clothing item, a dress, which I wrote about in this post. I’ve had the pattern lying around for a little over a month while I waited for the fabric to come. Then I had to carve out a day to devote to it. I’m the kind of sewist that keeps putting a project off but as soon as I start, I NEED to complete it ASAP!
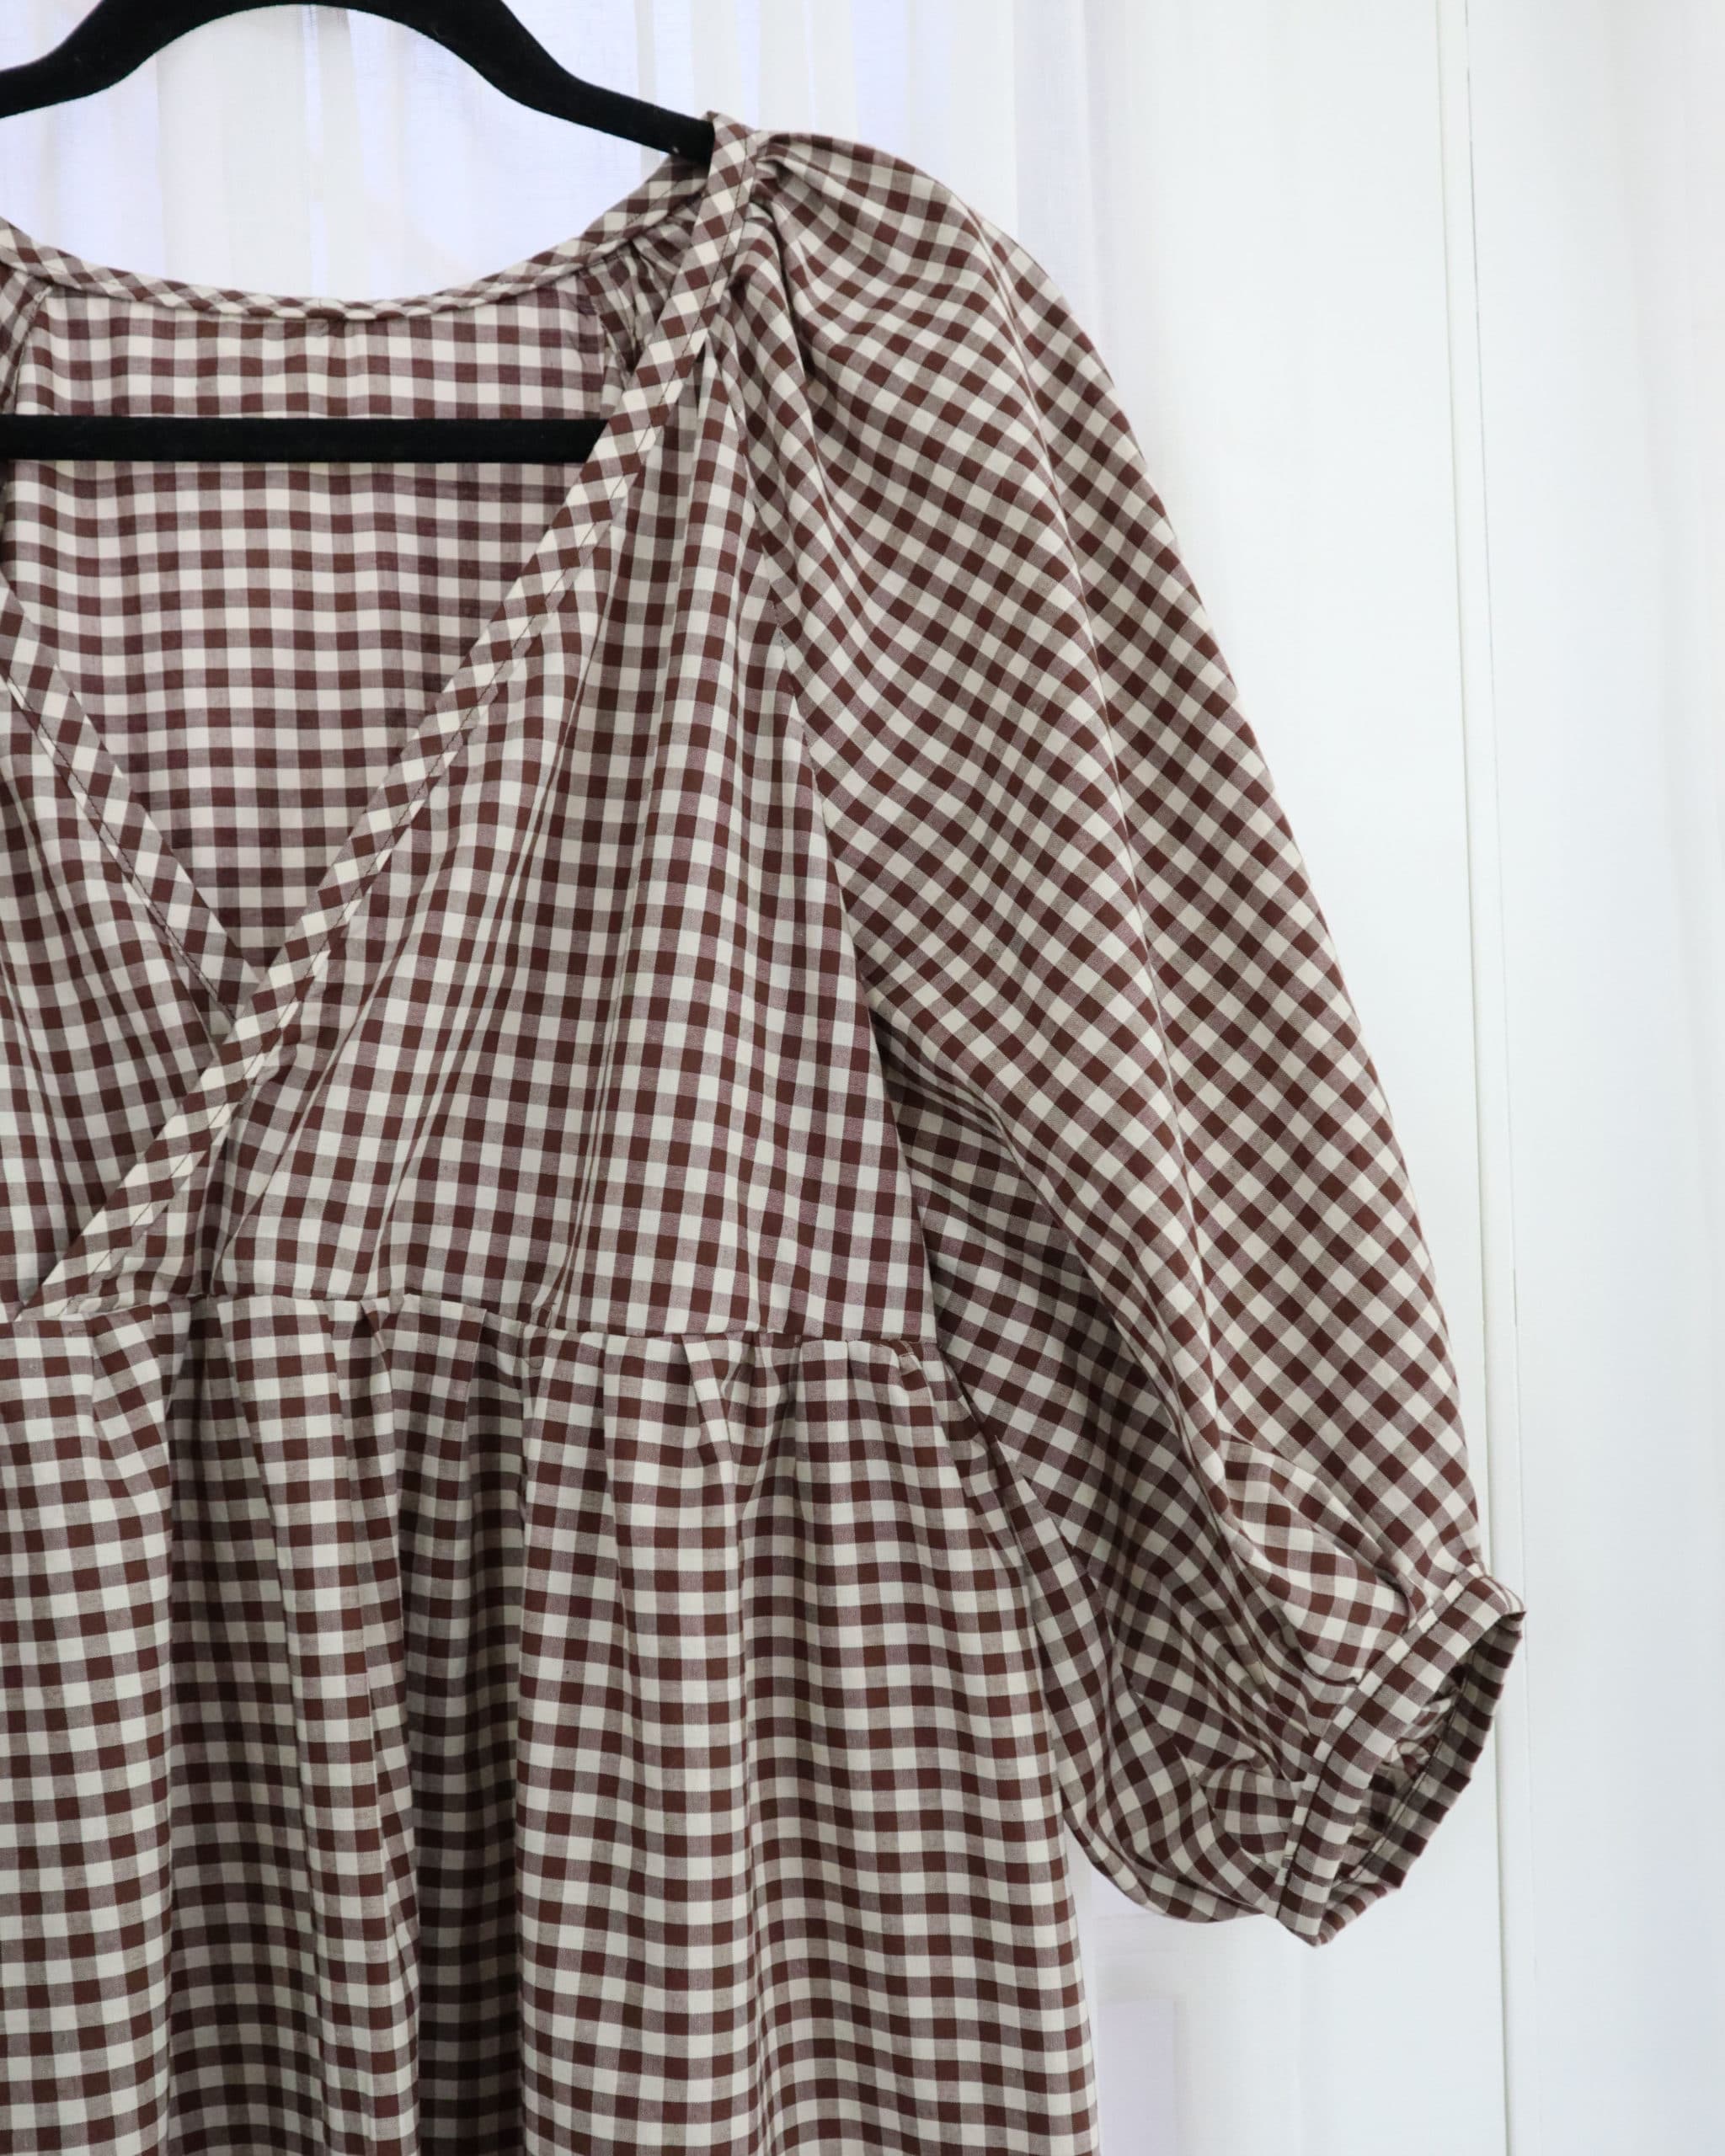
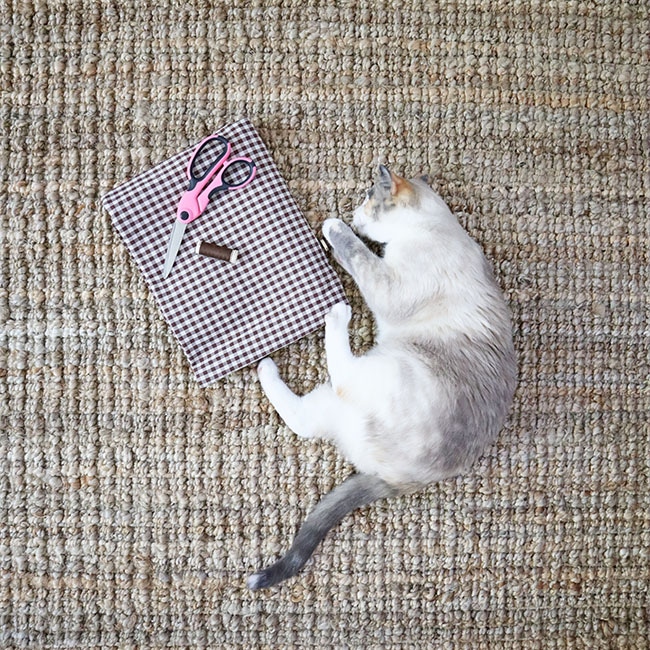
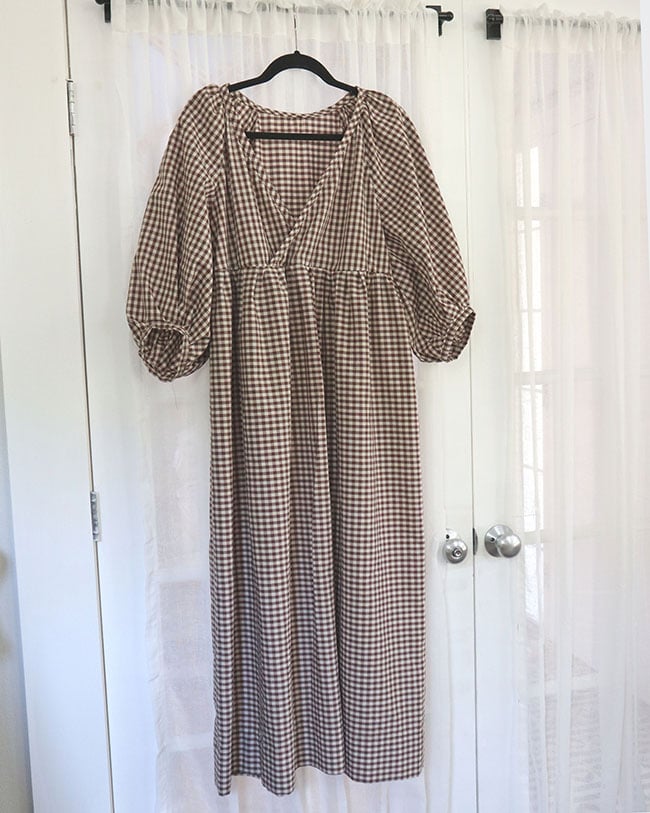
So, this past weekend, I finally got around to sewing this oversized, tiered summer dress. I used a cotton lawn in a gingham print that I ordered from Stonemountain & Daughter Fabrics. I wanted something that would be light and breezy but still opaque. This ended up being the perfect fabric for this project. I also ordered some brown thread, which Claire was a big fan of…
Before I get into the process, I just want to note that I have the most basic of equipment. I have a beginner sewing machine (Brother LX-3125) that is 10 years old (it looks like this one). It does not have any fancy elements. It unthreads all the time (now, this may be the fault of the user haha) and the bobbin is hidden down in the depths of the machine so I can never tell when I’m about to run out of thread.
I have the most basic of sewing tools (scissors, plastic head pins, fabric measuring tape, a seam ripper, an iron and ironing board, and I recently added glass head pins and a seam gauge to measure seam allowances).
I do not have a serger so I finish seams with a zigzag stitch usually and then trim the seam allowances so that they’re neat.
I am telling you all of this so that you feel empowered to make your own clothes if that is something you want to do. Please don’t let the things that you don’t have hold you back!
Wearing something that you’ve made with your own hands is well worth it.
The Summer Dress Sewing Process…
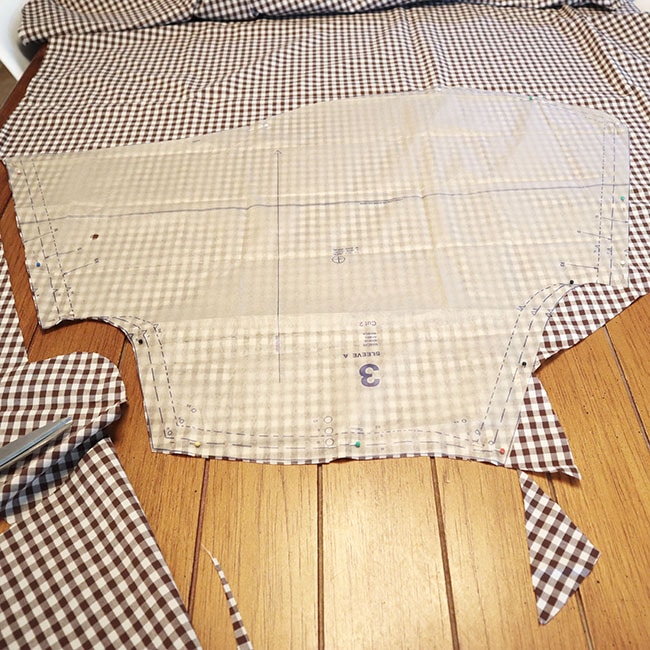
I took over the kitchen table to cut all of the fabric pieces. Since this is primarily a summer dress and it is already supposed to fit loosely, I still sized up a little to make it extra billowy!
I first saw this dress on Ellie of @the.weekend.sewist and I feel in love with it. She has such great makes and I want to copy all of them!
Once I started making the dress, the very first instruction was to attach interfacing to the neck fabric. I had NO clue what interfacing was. I thought it was just another piece of fabric that you sewed on to make it thicker so I ended up cutting 4 pieces for the neck fabric instead of 2!
After some research (google, naturally), I realized that it was an entirely different fabric that you could iron or sew on to provide structure.
I consulted with Susan (@thatlittlebitofpretty) about what type of interfacing I should get, put on my mask and headed to Joann’s where I picked up a yard of the Pellon SF101 interfacing. Then I cut it out using the pattern piece for the neck and ironed it on according to the instructions.
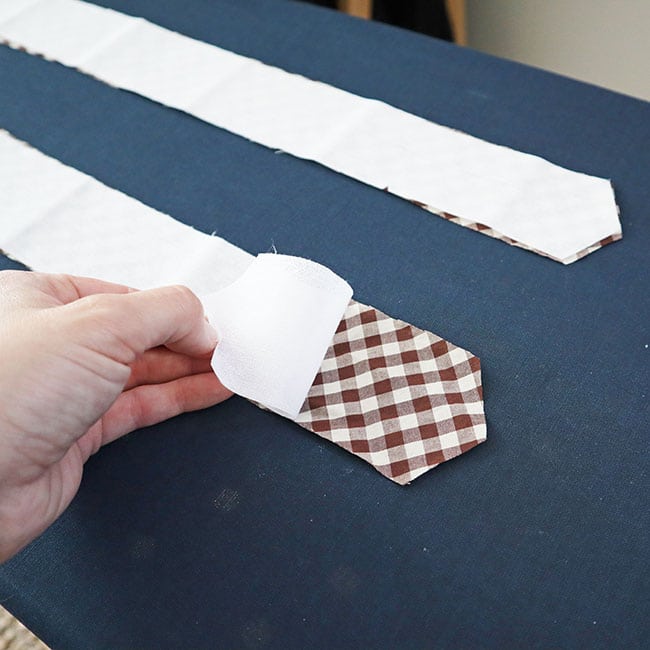
Before ironing. 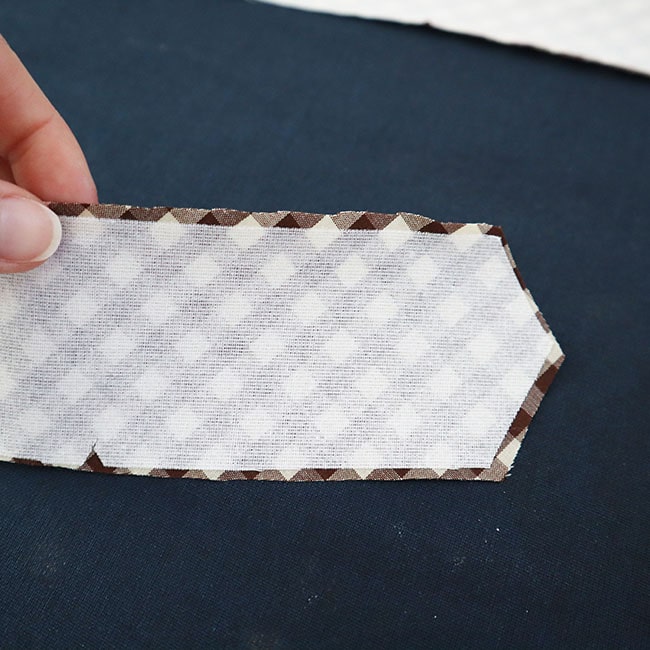
After ironing.
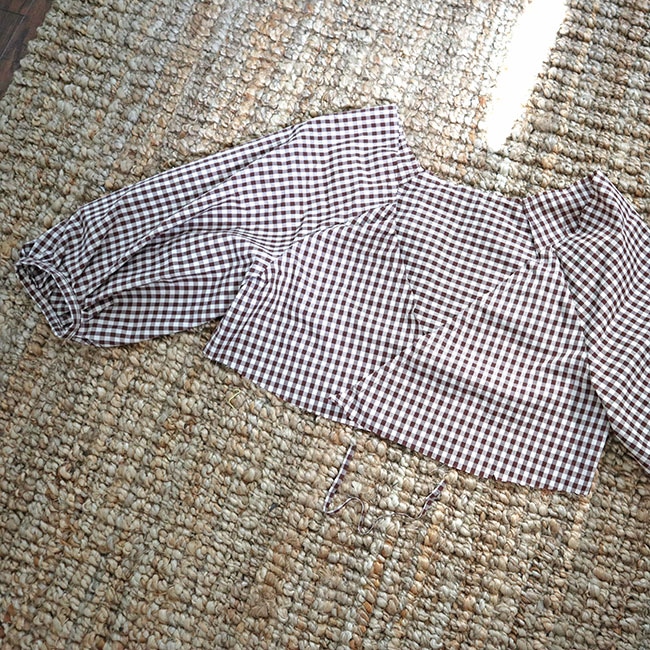
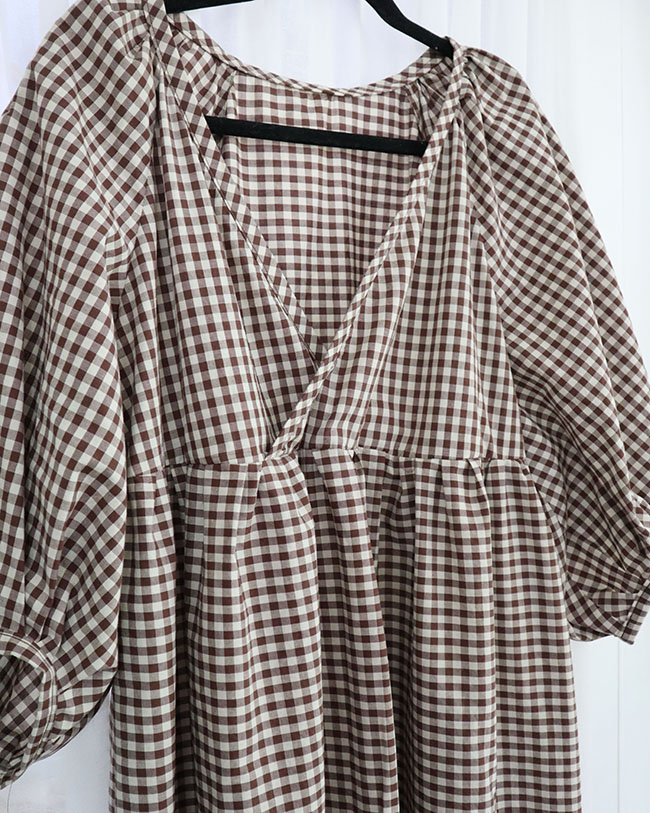
Once I had the neckline figured out…there’s always at least one thing that I have to learn when I make something…I moved on to making the upper part of the dress.
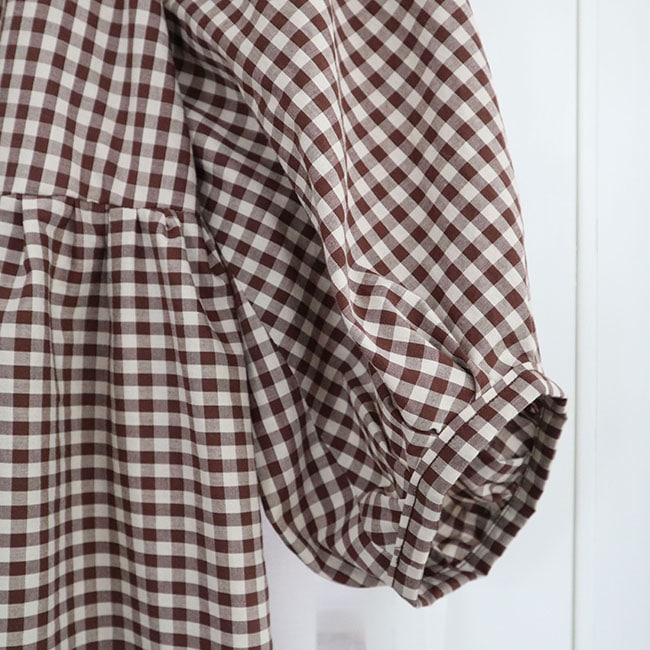
One of my favorite things is the puffy sleeves. They were challenging to sew and I’m not 100% happy with the shoulder gathers (but I’m also not unhappy enough to fix them either haha).
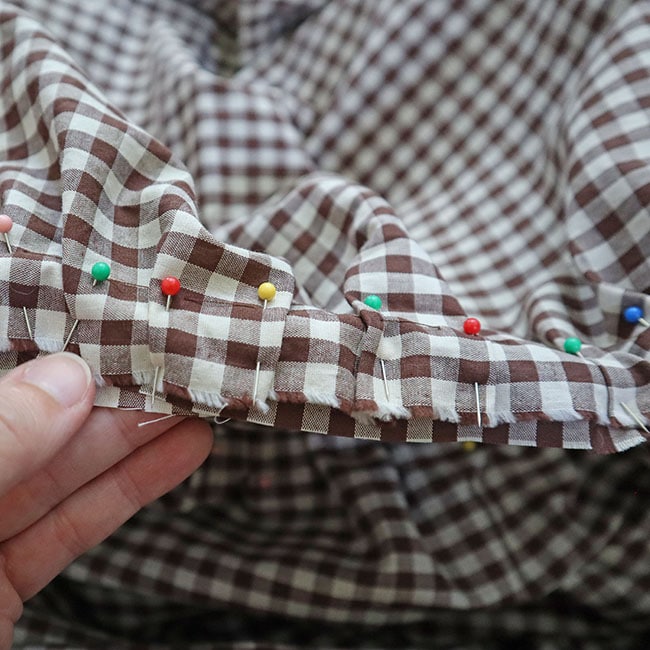
Once the top was completed, I sewed the panels for the skirt together and started joining the two pieces together. I had to gather the top of the skirt before I started pinning it to the top. I find gathers to be very difficult to get right.

I kind of end up pinning pleats all the way around. I’m not sure how else to do gathers, but if somebody has tips, I’d love it if you would comment below.
After the 2 pieces were sewn together and I had tried it on, I marked where I wanted to hem the dress to. I decided to go with a wide hem and leave it floor length. I’ll try out the length and if I want it shorter, I’ll re-hem it.
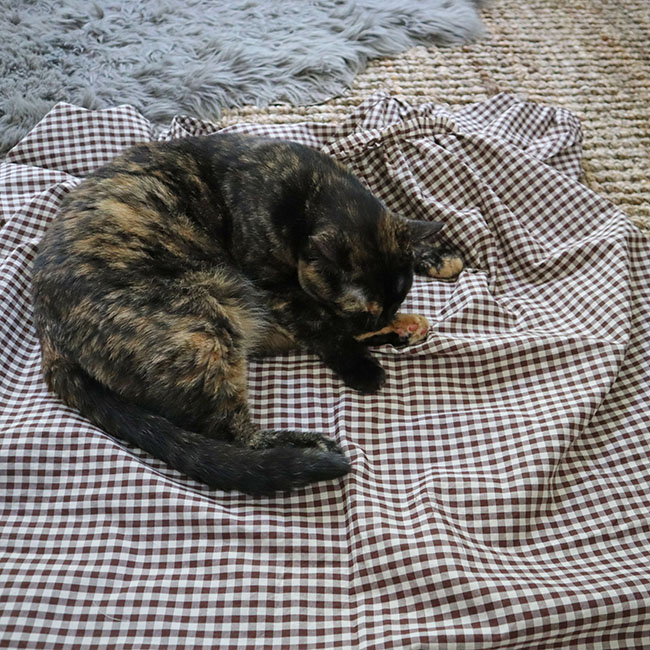
Jazzy loves to lie on anything that you put on the ground. This dress was no exception!
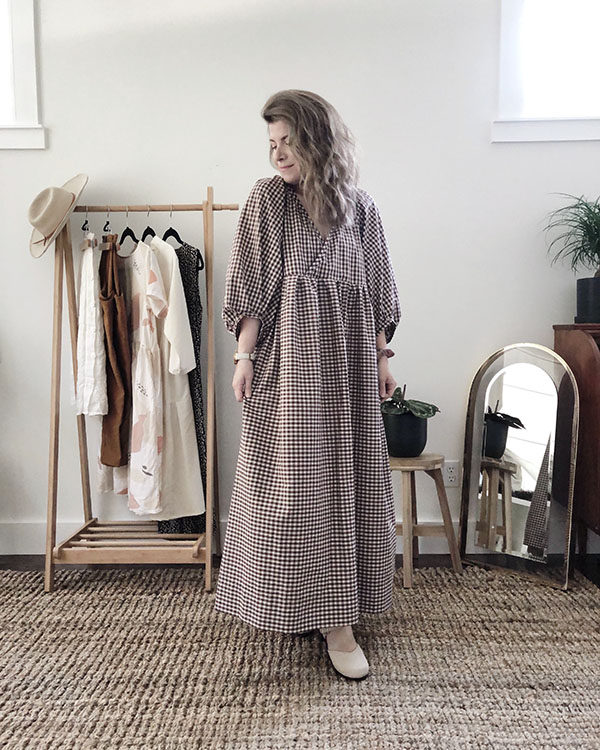
Voila…the completed summer dress!
I am really happy with how it turned out! It’s perfectly oversized, light and airy. I can see many summer days spent wearing this dress. It will be the ultimate summer dress!
I am not somebody who loves summer dressing (give me all the layers, which isn’t possible in a place with hot summers) but I think that making my own clothes is really going to help bring more joy to summer styling.
Please enjoy some photos of the finished product…
An important note.
I am choosing to not share the pattern at the present time.
The pattern is one that I’ve had since the beginning of May. I ordered it from a big pattern company whose recent blanket response to the black lives matter movement rang hollow, so I will not be sharing them here, or on my social media, in the future unless they develop an action plan of support for the black community.
Always remember that, as consumers, we have the power to effect change with how we choose to spend our money.
This company has aligned itself with the black community in terms of marketing and selling to them but when the time came to stand in solidarity, they were nowhere to be found.
So I will use this pattern (and any others that I have already purchased) but I will not purchase anything else as it currently stands. I will continue to monitor their response and if they develop an action plan to support the black community, I will gladly share the pattern.
As an alternative, I think you could combine the sleeves of this blouse with this dress and achieve a similar look. And if anyone knows of a similar pattern, I would love for you to let me know!
Until next time,

Pin it for later…
Pingback: 5 Spring Outfits with a Colorful Capsule Wardrobe #4 - Uncomplicated Spaces
Pingback: Spring Style with A Colorful Capsule Wardrobe #2 - Uncomplicated Spaces
If Kim Wore Clothes has a very similar pattern. It’s next on my list. She’s on Etsy and Instagram. (Bethany Dress)
Thanks for letting me know! I’ll definitely look into it.
Yes! Shorten it. It will look better and be cooler as well. It’s amazing how much hotter a dress is when it’s floor length.
Thanks Ellen! I’m definitely considering it!
Pingback: The Best 10 Winter Capsule Wardrobe Outfits - Uncomplicated Spaces
Pingback: A Sustainable Wardrobe - 9 Easy Ways to Get Started - Uncomplicated Spaces