Have you ever found the perfect belt, only to have it be too big? It’s happens to me a lot while vintage shopping, so knowing how to properly resize a belt is something that is pretty important to me.
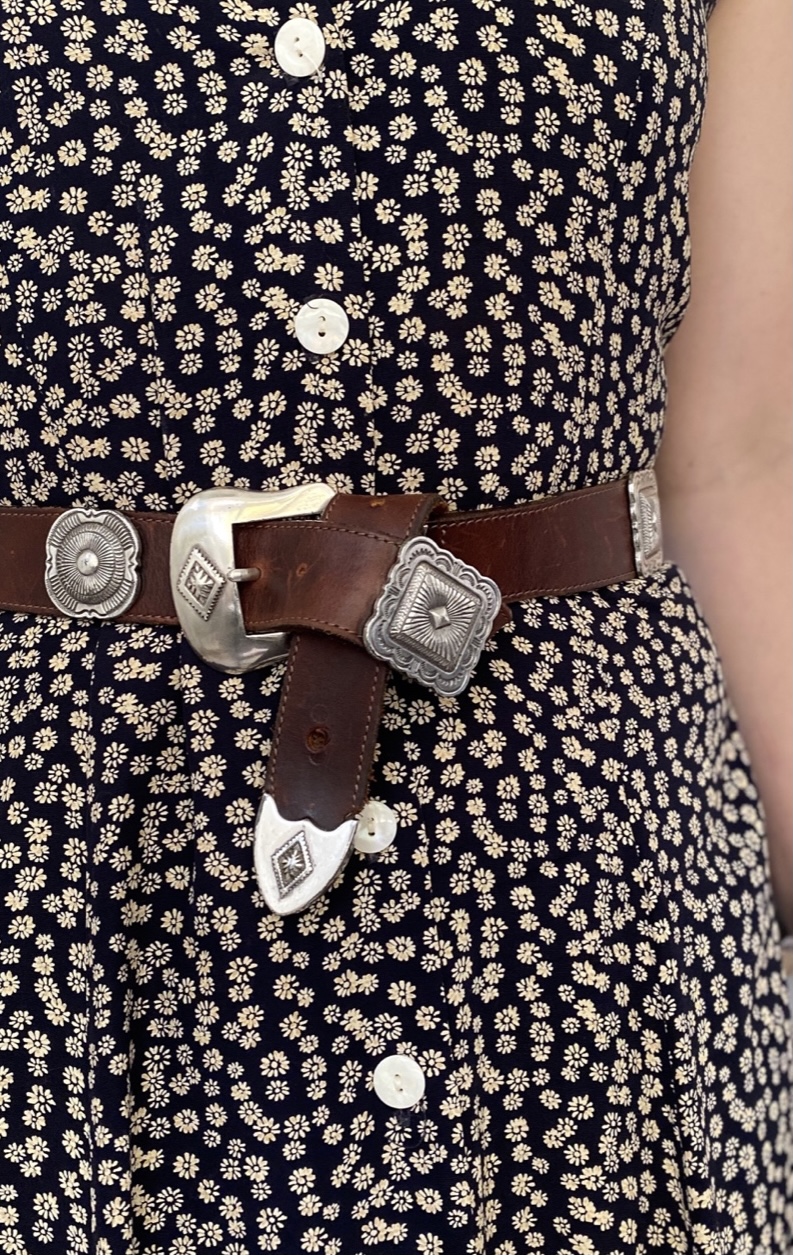
I bought a vintage leather belt earlier this summer that was too big for me. When I found it, I loved the details so much and it felt like a really special piece! It was the most perfect shade of brown leather with really interesting silver accents all the way around. The fact that it was too big didn’t bother me.
I knew that I had the tools at home to resize it. I used to make jewelry (feels like a lifetime ago) so I have a leather punch that I keep with my other jewelry making tools. It’s not something that I use a lot, but it definitely comes in handy sometimes!
What you’ll need
- measuring tape
- star screwdriver (or some other way to mark the holes)
- leather punch (rotary preferably for more sizing options)
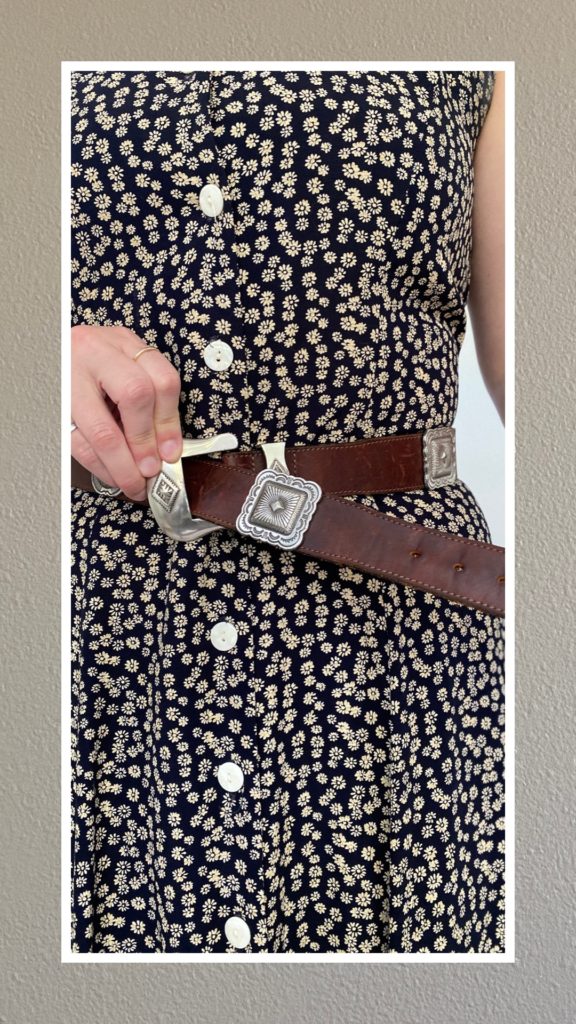
Step 1: Determine hole location
- Put the belt on and pull it to the right tightness.
- You’ll want to continue the holes to at least this point.
Step 2: Determine hole punch size
- Starting with the smallest hole punch size, insert the punch into an existing belt hole.
- Continue through the sizes until you get a snug fit.
Step 3: Measure
Using the tape measure, determine the distance between the holes.

Step 4: Mark
Using the measurement from step 3, use the screwdriver to mark the location of the new holes. Hold the tip where you want the hole and twist to make a small indent.
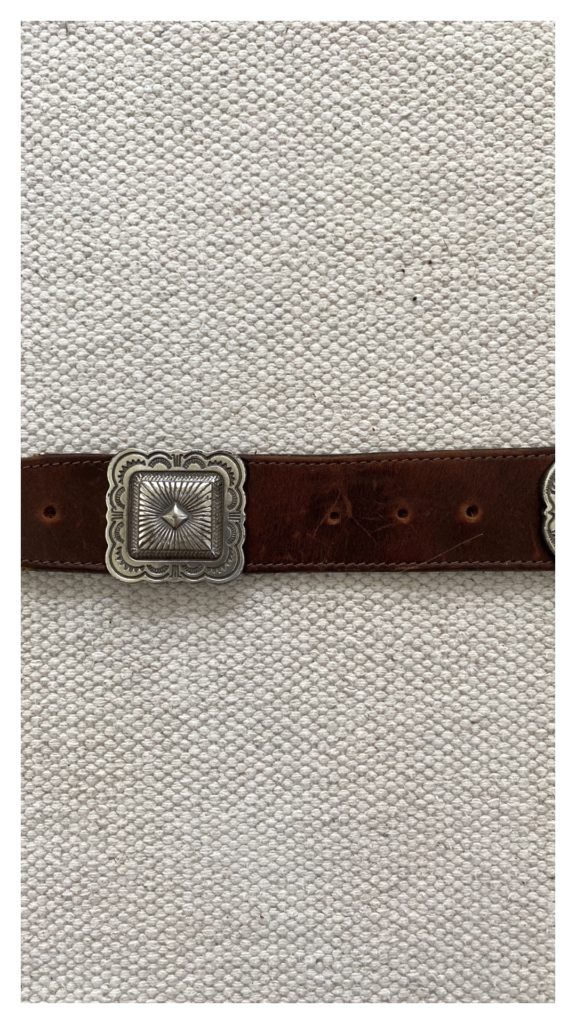
Step 5: Punch holes
Using the hole punch setting from step 2, punch the new holes. If the holes look too small, use the next largest punch size.
And that’s it! These are the 5 simple steps I use to resize a belt.
I hope it makes you feel inspired to get that perfect vintage belt the next time around. Or to (finally) resize the one you’ve had in your closet.
Much better…
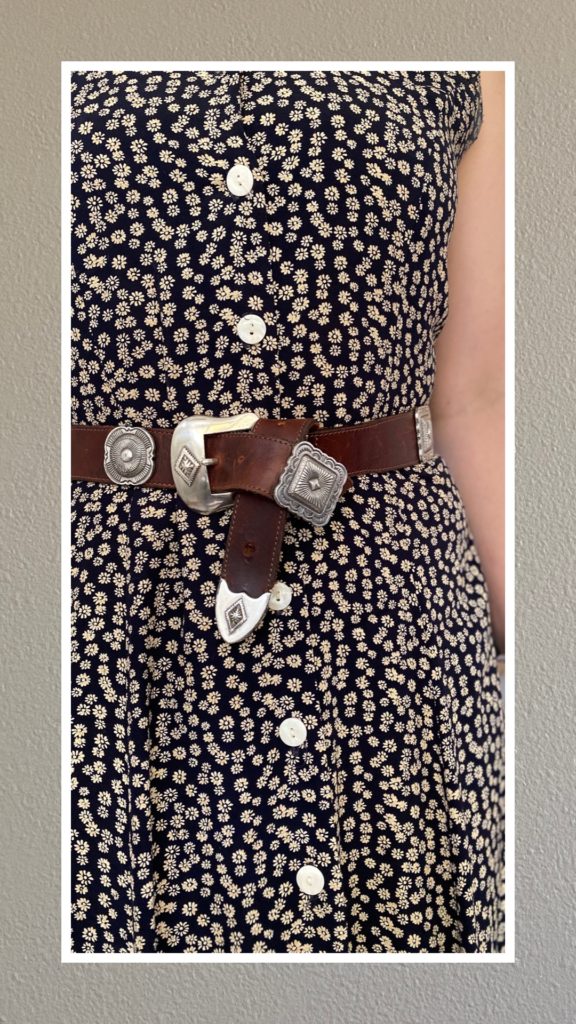
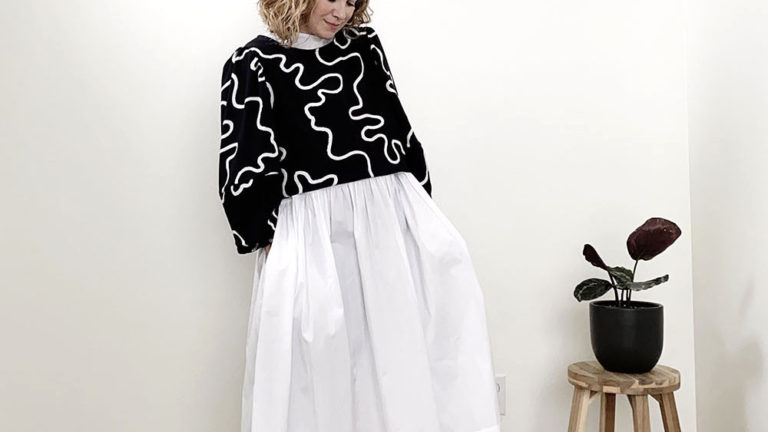
And isn’t this the most perfect vintage dress/belt combo?
Have you ever resized a belt? If so, how did you do it?
If you liked this DIY, you might also like my post about on how to get the perfect raw jeans hem.

Pingback: How to Transition a Summer Dress for Fall 2021 – Uncomplicated Spaces